Who doesn’t love the mouthwatering taste of a freshly baked pizza? Whether it’s a casual weeknight dinner or a fun-filled gathering with friends, pizza always seems to hit the spot. And when it comes to making pizza at home, nothing beats the satisfaction of crafting your own dough from scratch. In this article, we’ll delve into the world of homemade pizza dough with a focus on recreating the iconic taste of Shakey’s Pizza Dough Recipe, a beloved favorite for many pizza enthusiasts.
Understanding the Magic Behind Shakey’s Pizza
Before we dive into the recipe, let’s take a moment to appreciate what makes Shakey’s Pizza so special. Originating in California in the 1950s, Shakey’s quickly gained popularity for its crispy thin crust and distinctive flavor profile. The secret lies in the dough – a perfect balance of flour, yeast, water, and a touch of sweetness that creates a light and airy texture with just the right amount of chewiness.
The Key Ingredients
To recreate the magic of Shakey’s Pizza at home, you’ll need to gather a few simple ingredients:
- All-Purpose Flour: The foundation of any good pizza dough, all-purpose flour provides structure and texture.
- Yeast: Essential for leavening, yeast helps the dough rise and develop those coveted air pockets.
- Water: The hydration source for the dough, water binds everything together and activates the yeast.
- Sugar: A hint of sweetness not only enhances the flavor but also helps to activate the yeast more efficiently.
- Salt: Balancing out the sweetness, salt adds depth of flavor and regulates the fermentation process.
Crafting Your Perfect Pizza Dough
Now that we have our ingredients ready, it’s time to roll up our sleeves and get our hands dirty. Follow these simple steps to create your own Shakey’s Pizza dough masterpiece:
- Activate the Yeast: In a small bowl, combine warm water, sugar, and yeast. Let it sit for about 5-10 minutes until it becomes frothy and bubbly, indicating that the yeast is active and ready to work its magic.
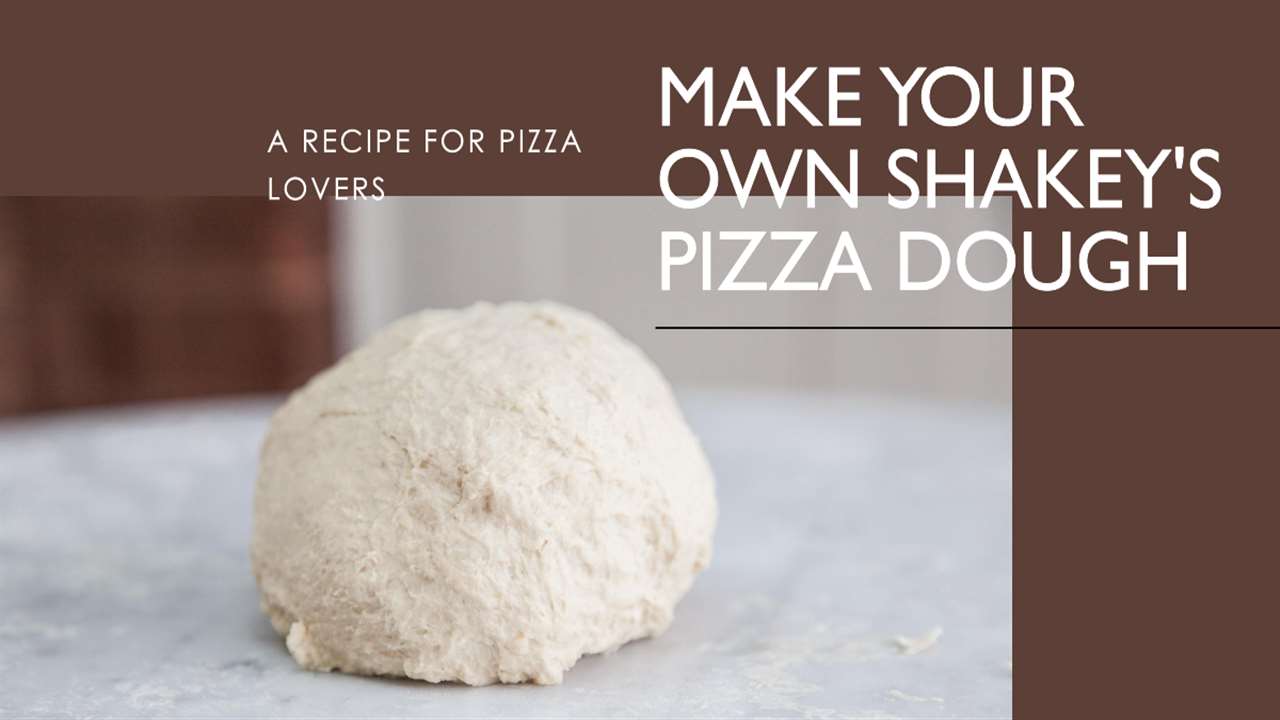
- Mixing the Dough: In a large mixing bowl, combine the flour and salt. Make a well in the center and pour in the activated yeast mixture. Using a wooden spoon or your hands, gradually incorporate the flour into the liquid until a shaggy dough forms.
- Kneading: Transfer the dough onto a lightly floured surface and knead it for about 5-7 minutes until it becomes smooth and elastic. This process helps to develop gluten strands, giving the dough its characteristic chewiness.
- First Rise: Place the kneaded dough in a lightly greased bowl, cover it with a clean kitchen towel or plastic wrap, and let it rise in a warm, draft-free place for about 1-2 hours or until it doubles in size.
- Shaping the Dough: Once the dough has risen, punch it down to release any air bubbles and divide it into desired portions. Roll out each portion into a thin round crust, taking care not to overwork the dough.
- Final Rise: Place the shaped dough on a parchment-lined baking sheet or pizza peel, cover it with a kitchen towel, and let it rest for another 20-30 minutes to allow for a final rise.
Baking and Enjoying Your Homemade Pizza
With your pizza dough ready to go, it’s time to unleash your creativity and add your favorite toppings. Whether you prefer classic pepperoni and cheese or adventurous combinations like barbecue chicken or Hawaiian, the possibilities are endless. Preheat your oven to the highest temperature setting (usually around 500°F) and bake your pizza on a preheated pizza stone or baking sheet for 10-12 minutes or until the crust is golden brown and the cheese is bubbly and melted.
Once out of the oven, let your pizza cool for a few minutes before slicing into it and savoring every delicious bite. Pair it with a crisp salad or your favorite beverage for the ultimate homemade pizza experience.
Conclusion
In conclusion, mastering the art of homemade pizza dough is not only rewarding but also allows you to customize your pizza exactly to your liking. By following this Shakey’s Pizza dough recipe and adding your own personal touch, you can enjoy the taste of your favorite pizzeria right in the comfort of your own home. So roll up your sleeves, gather your ingredients, and let the pizza-making adventure begin!
For more ideas, recipes, and cooking tips and tricks, please visit us at 5 Star Medcare.
FAQs About Shakey’s Pizza Dough Recipe
Q1: Can I use instant yeast instead of active dry yeast?
A1: Yes, you can substitute instant yeast for active dry yeast in this recipe. However, you may need to adjust the amount slightly as instant yeast tends to be more potent.
Q2: Can I make the dough ahead of time and refrigerate it?
A2: Absolutely! You can prepare the dough ahead of time, place it in an airtight container, and refrigerate it for up to 24 hours. Just make sure to let it come to room temperature before shaping and baking.
Q3: Can I freeze the pizza dough for later use?
A3: Yes, you can freeze the pizza dough for up to 3 months. Divide the dough into individual portions, wrap them tightly in plastic wrap or aluminum foil, and store them in a freezer-safe bag or container. Thaw overnight in the refrigerator before using.
Q4: How can I achieve a crispier crust?
A4: To achieve a crispier crust, preheat your oven and pizza stone or baking sheet for at least 30 minutes before baking. You can also brush the edges of the crust with olive oil before adding toppings to promote browning.
Q5: Can I use whole wheat flour instead of all-purpose flour?
A5: While you can certainly use whole wheat flour for a healthier alternative, keep in mind that it will result in a denser crust compared to all-purpose flour. You may need to adjust the hydration level slightly to achieve the desired consistency.